 叁聖涅
叁聖涅作者
- 模板仓库:https://github.com/maomao1996/vitepress-nav-template
- 作者导航开发日记:https://github.com/maomao1996/daily-notes/issues/38
- 作者教程:https://github.com/maomao1996/vitepress-nav-template/blob/main/guide.md
- Demo:https://fe-nav.netlify.app/nav/
作者VP导航开发日志
说明
- 鉴于网上一大堆教你
VitePress搭建自己的博客,本文就不在重复教你了,只说明下打造前端导航的重点部分 - 如果你需要学习
VitePress的基础知识,可以参考我的另一篇文章: 从 VuePress 迁移至 VitePress
环境和依赖
node18.xpnpm7.xvitepress1.0.0-alpha.48
分析需求
首先,这个前端导航页只是博客中的一个模块,所以需要满足下面这些功能
- 布局
- 导航栏
- 页脚
- 本页目录(用于快速跳转)
- 导航内容的
UI样式应与整站的界面风格一致- 站点图标
- 站点名称
- 站点描述
- 站点链接
- 支持主题切换(毕竟
VitePress自带了主题功能)
基于这些需求和我的一些懒人属性,我决定就地取材,从 VitePress 中搜刮我需要的元素,然后逐步开发和完善前端导航页面。
页面布局
基于就地取材,我们先来分析下 VitePress 提供的四种布局配置
- layout: doc 文档布局(默认)
- 解析
Markdown内置VitePress提供的所有样式 - 具有侧边栏、导航栏、页脚、本页目录
- 解析
- layout: page 页面布局
- 解析
Markdown但不会获得任何默认样式 - 具有侧边栏、导航栏、页脚
- 解析
- layout: home 首页布局
- 解析
Markdown但不会获得任何默认样式 - 具有侧边栏、导航栏、页脚
- 支持
hero和features
- 解析
- layout: false 无布局(纯空白页)
- 解析
Markdown但不会获得任何默认样式
- 解析
综上考虑,我们选取 layout: doc 来开发
修改 VitePress 主题
信息
因为 layout: doc 主要是提供给文档使用的,其页面宽度有限,同时为了更好的样式隔离,为其添加一个 layoutClass 方便我们更好的去自定义样式
在 docs/.vitepress/theme 目录下新建 index.ts 文件
import { h, App } from 'vue'
import { useData } from 'vitepress'
import Theme from 'vitepress/theme'

export default Object.assign({}, Theme, {
  Layout: () => {
    const props: Record<string, any> = {}
    // 获取 frontmatter
    const { frontmatter } = useData()

    /* 添加自定义 class */
    if (frontmatter.value?.layoutClass) {
      props.class = frontmatter.value.layoutClass
    }

    return h(Theme.Layout, props)
  }
})添加页面和样式
在 docs/nav 目录下新建 index.md
信息
frontmatter 用于配置页面信息,也可以添加一些自定义信息
---
layout: doc
layoutClass: m-nav-layout
---

<style src="./index.scss"></style>

# 前端导航在 docs/nav 目录下新建 index.scss
VitePress 的所有样式都是基于 CSS 变量来编写,所以在扩展时很方便,同时因为 CSS 变量具有作用域,我们只需要在自定义的 layoutClass 下去修改,这样也不会影响其他页面
.m-nav-layout {
  /* 覆盖全局的 vp-layout-max-width(仅当前页面使用) */
  --vp-layout-max-width: 1660px;

  /* 修改 layout 最大宽度 */
  .container {
    max-width: var(--vp-layout-max-width) !important;
  }
  .content-container,
  .content {
    max-width: 100% !important;
  }
}编写导航内容组件
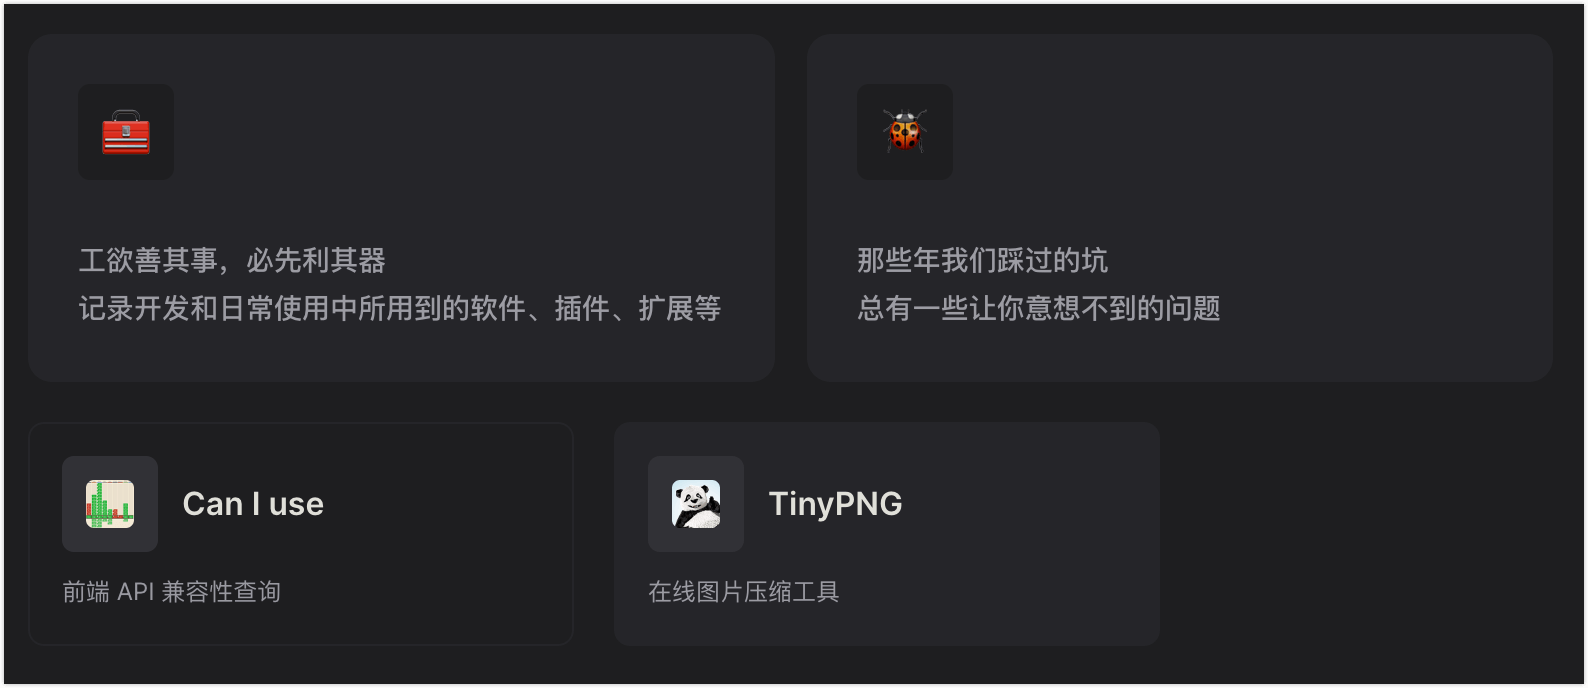
为了让这个导航网站与整个站点风格相符,我选择了首页的 features 作为参考并进行了改造。
在 docs/nav/components 目录下新建 type.ts
export interface NavLink {
  /** 站点图标 */
  icon?: string | { svg: string }
  /** 站点名称 */
  title: string
  /** 站点名称 */
  desc?: string
  /** 站点链接 */
  link: string
}在 docs/nav/components 目录下新建 MNavLink.vue
<script setup lang="ts">
import { computed } from 'vue'

import { NavLink } from './type'

const props = defineProps<{
  icon?: NavLink['icon']
  title?: NavLink['title']
  desc?: NavLink['desc']
  link: NavLink['link']
}>()

const svg = computed(() => {
  if (typeof props.icon === 'object') return props.icon.svg
  return ''
})
</script>

<template>
  <a v-if="link" class="m-nav-link" :href="link" target="_blank" rel="noreferrer">
    <article class="box">
      <div class="box-header">
        <div v-if="svg" class="icon" v-html="svg"></div>
        <div v-else-if="icon && typeof icon === 'string'" class="icon">
          <img :src="icon" :alt="title" onerror="this.parentElement.style.display='none'" />
        </div>
        <h6 v-if="title" class="title">{{ title }}</h6>
      </div>
      <p v-if="desc" class="desc">{{ desc }}</p>
    </article>
  </a>
</template>

<style lang="scss" scoped>
.m-nav-link {
  display: block;
  border: 1px solid var(--vp-c-bg-soft);
  border-radius: 8px;
  height: 100%;
  cursor: pointer;
  transition: all 0.3s;
  &:hover {
    background-color: var(--vp-c-bg-soft);
  }

  .box {
    display: flex;
    flex-direction: column;
    padding: 16px;
    height: 100%;
    color: var(--vp-c-text-1);
    &-header {
      display: flex;
      align-items: center;
    }
  }

  .icon {
    display: flex;
    justify-content: center;
    align-items: center;
    margin-right: 12px;
    border-radius: 6px;
    width: 48px;
    height: 48px;
    font-size: 24px;
    background-color: var(--vp-c-mute);
    transition: background-color 0.25s;
    :deep(svg) {
      width: 24px;
      fill: currentColor;
    }
    :deep(img) {
      border-radius: 4px;
      width: 24px;
    }
  }

  .title {
    overflow: hidden;
    flex-grow: 1;
    white-space: nowrap;
    text-overflow: ellipsis;
    line-height: 48px;
    font-size: 16px;
    font-weight: 600;
  }

  .desc {
    display: -webkit-box;
    -webkit-line-clamp: 2;
    -webkit-box-orient: vertical;
    overflow: hidden;
    text-overflow: ellipsis;
    flex-grow: 1;
    margin: 10px 0 0;
    line-height: 20px;
    font-size: 12px;
    color: var(--vp-c-text-2);
  }
}

@media (max-width: 960px) {
  .m-nav-link {
    .box {
      padding: 8px;
    }
    .icon {
      width: 40px;
      height: 40px;
    }
    .title {
      line-height: 40px;
      font-size: 14px;
    }
  }
}
</style>在 docs/nav/components 目录下新建 MNavLinks.vue
<script setup lang="ts">
import MNavLink from './MNavLink.vue'
import type { NavLink } from './type'

defineProps<{
  title: string
  items: NavLink[]
}>()
</script>

<template>
  <div class="m-nav-links">
    <MNavLink
      v-for="{ icon, title, desc, link } in items"
      :key="link"
      :icon="icon"
      :title="title"
      :desc="desc"
      :link="link"
    />
  </div>
</template>

<style lang="scss" scoped>
.m-nav-links {
  --gap: 10px;
  display: grid;
  grid-template-columns: repeat(auto-fill, minmax(130px, 1fr));
  grid-row-gap: var(--gap);
  grid-column-gap: var(--gap);
  grid-auto-flow: row dense;
  justify-content: center;
  margin-top: var(--gap);
}

@each $media, $size in (500px: 140px, 640px: 155px, 768px: 175px, 960px: 200px, 1440px: 240px) {
  @media (min-width: $media) {
    .m-nav-links {
      grid-template-columns: repeat(auto-fill, minmax($size, 1fr));
    }
  }
}

@media (min-width: 960px) {
  .m-nav-links {
    --gap: 20px;
  }
}
</style>UI对比
提示
和默认首页的 features 进行对比
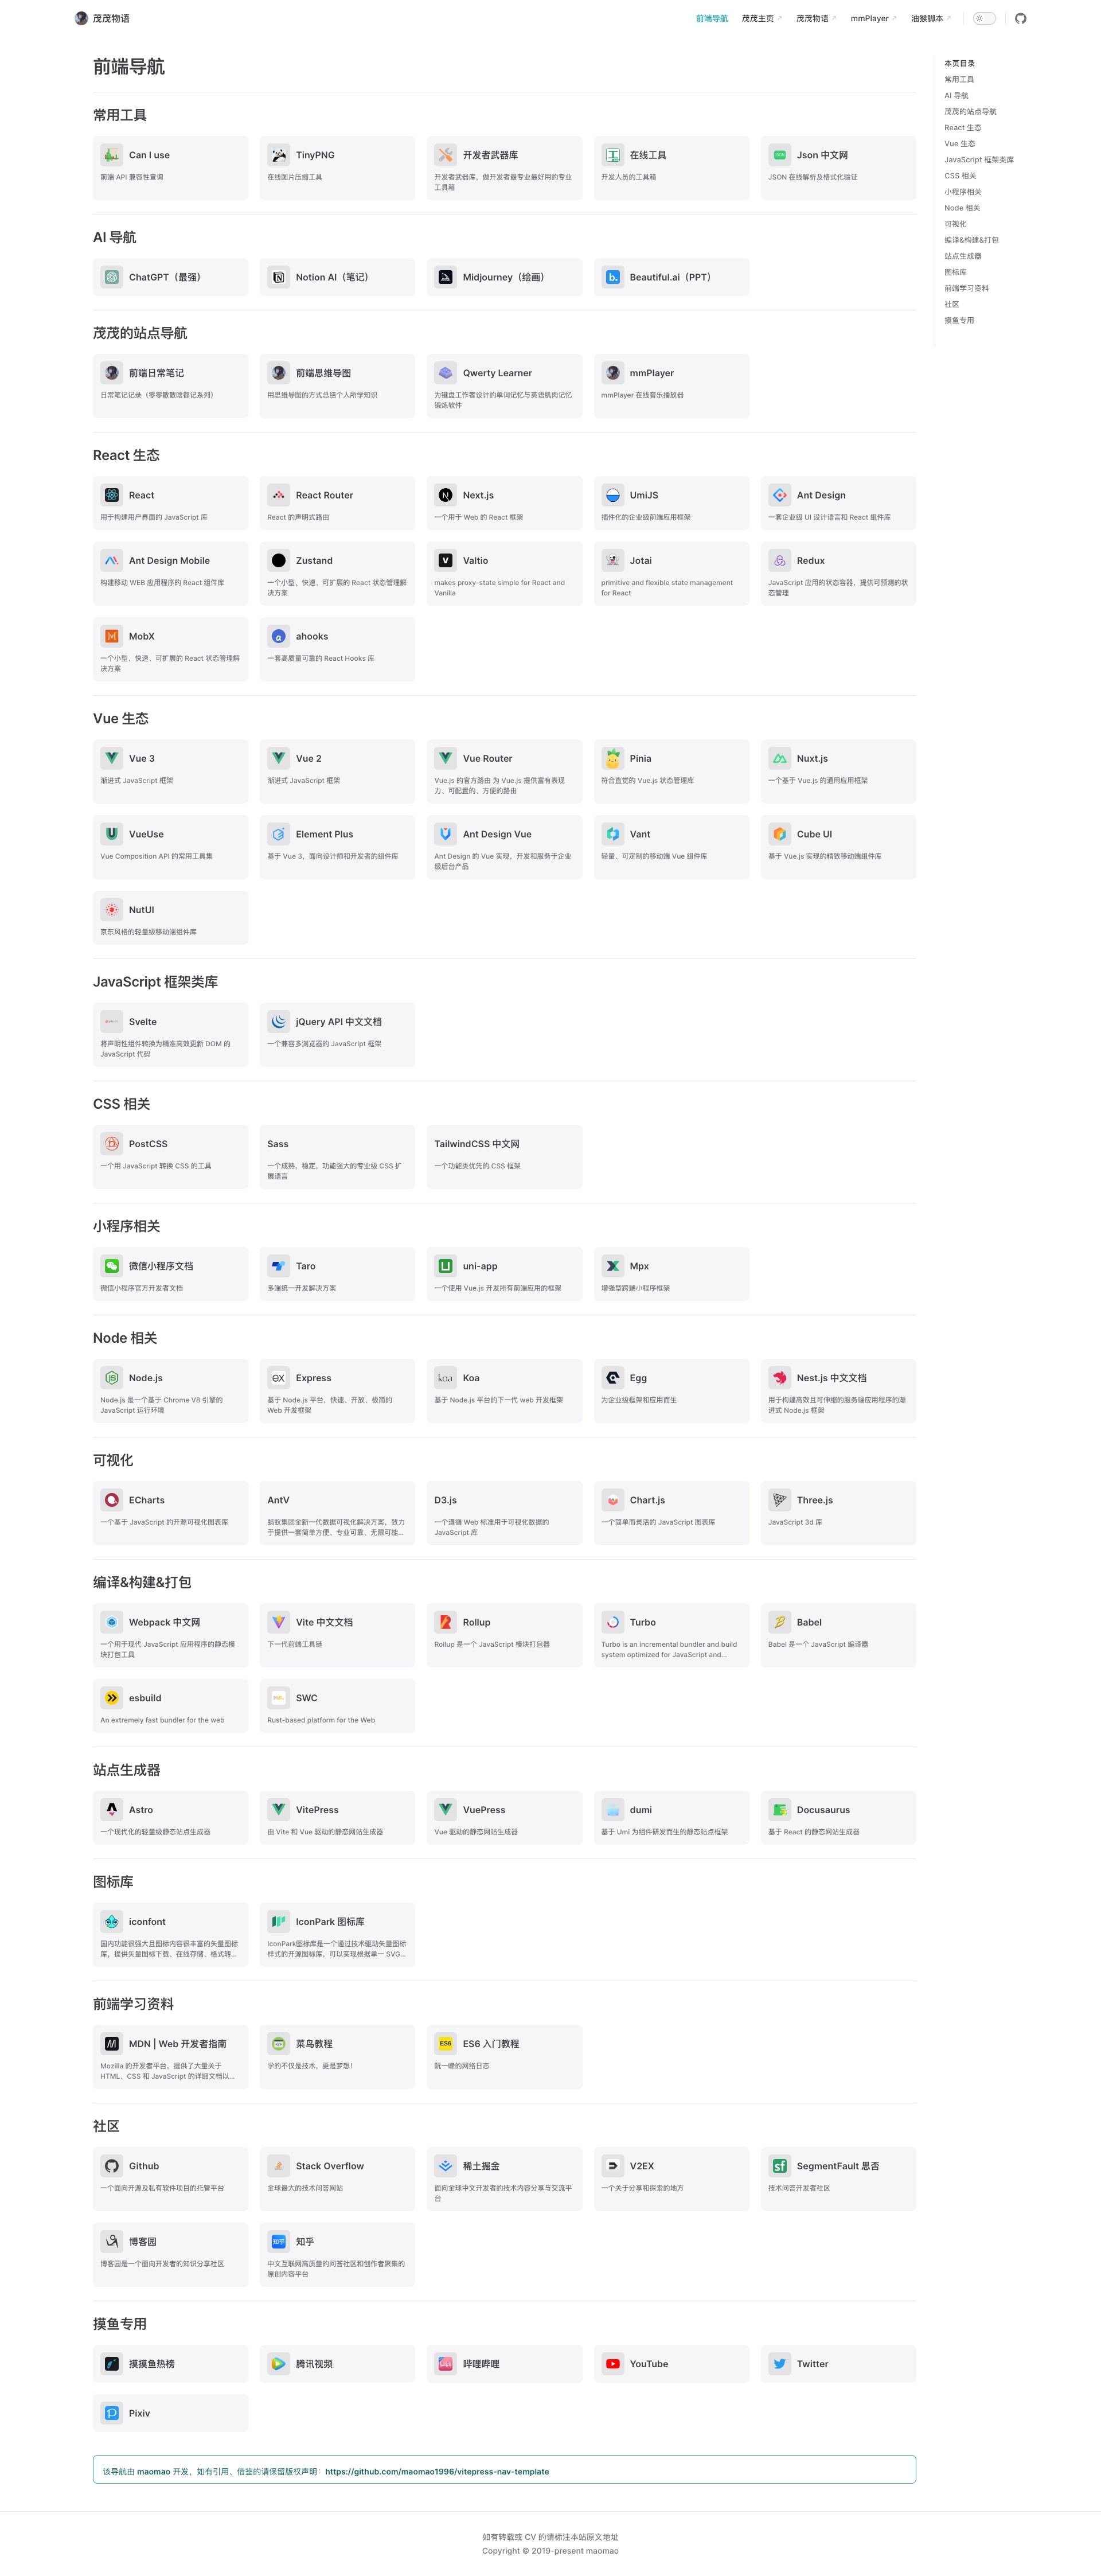
导航页面目录
方案探索过程
直接使用markdown语法自动生成
markdown--- layoutClass: m-nav-layout --- <script setup> import MNavLinks from './components/MNavLinks.vue' import { NAV_DATA } from './data' </script> <style src="./index.scss"></style> # 前端导航 ## 常用工具 <MNavLinks :items="[]"/> ## React 生态 <MNavLinks :items="[]"/>这个方案实现简单,但使用时需要无脑 CV
自定义样式
在各种探索并翻阅了
VitePress源码后发现,其页面目录是通过dom操作获取h2 - h6来生成的 —— 关键代码tsdocument.querySelectorAll<HTMLHeadingElement>('h2, h3, h4, h5, h6').forEach((el) => { if (el.textContent && el.id) { let title = el.textContent if (outlineBadges === false) { const clone = el.cloneNode(true) as HTMLElement for (const child of clone.querySelectorAll('.VPBadge')) { child.remove() } title = clone.textContent || '' } updatedHeaders.push({ level: Number(el.tagName[1]), title: title.replace(/\s+#\s*$/, ''), link: `#${el.id}` }) } })这样一来就简单很多了,我们只需将标题加入
MNavLinks组件中,同时为了原汁原味,跟VitePress一样使用@mdit-vue/shared中的slugify方法对title进行格式化ts<script setup lang="ts"> import { computed } from 'vue' import { slugify } from '@mdit-vue/shared' import MNavLink from './MNavLink.vue' import type { NavLink } from './type' const props = defineProps<{ title: string items: NavLink[] }>() const formatTitle = computed(() => { return slugify(props.title) }) </script> <template> <h2 v-if="title" :id="formatTitle" tabindex="-1"> {{ title }} <a class="header-anchor" :href="`#${formatTitle}`" aria-hidden="true">#</a> </h2> <div class="m-nav-links"> <MNavLink v-for="{ icon, title, desc, link } in items" :key="link" :icon="icon" :title="title" :desc="desc" :link="link" /> </div> </template> <style lang="scss" scoped> .m-nav-links { --gap: 10px; display: grid; grid-template-columns: repeat(auto-fill, minmax(130px, 1fr)); grid-row-gap: var(--gap); grid-column-gap: var(--gap); grid-auto-flow: row dense; justify-content: center; margin-top: var(--gap); } @each $media, $size in (500px: 140px, 640px: 155px, 768px: 175px, 960px: 200px, 1440px: 240px) { @media (min-width: $media) { .m-nav-links { grid-template-columns: repeat(auto-fill, minmax($size, 1fr)); } } } @media (min-width: 960px) { .m-nav-links { --gap: 20px; } } </style>这样一来我们的前端导航页面就只需要维护一个数组来存储站点数据了
添加搜索和锚点定位
当我们站点的数据变得越来越多,寻找特定内容会变得困难,因此我们需要添加搜索功能。好在VitePress 自带了 Algolia 搜索,我们只需要适配一下即可(依然是就地取材)
1. 适配 Algolia 爬虫
Algolia 默认爬取的是 .content 下的 h1 - h5, li, p,而我们的 MNavLink 组件使用的是 h6,为了支持其爬取修改为 h5 即可
2. 添加锚点定位
修改 MNavLink 组件
<script setup lang="ts">
import { computed } from 'vue'
 import { slugify } from '@mdit-vue/shared'

import { NavLink } from './type'

const props = defineProps<{
  icon?: NavLink['icon']
  title?: NavLink['title']
  desc?: NavLink['desc']
  link: NavLink['link']
}>()

 const formatTitle = computed(() => {
   if (!props.title) {
     return ''
   }
   return slugify(props.title)
 })

const svg = computed(() => {
  if (typeof props.icon === 'object') return props.icon.svg
  return ''
})
</script>

<template>
  <a v-if="link" class="m-nav-link" :href="link" target="_blank" rel="noreferrer">
    <article class="box">
      <div class="box-header">
        <div v-if="svg" class="icon" v-html="svg"></div>
        <div v-else-if="icon && typeof icon === 'string'" class="icon">
          <img :src="icon" :alt="title" onerror="this.parentElement.style.display='none'" />
        </div>
         <h6 v-if="title" class="title">{{ title }}</h6>
         <h5 v-if="title" :id="formatTitle" class="title">{{ title }}</h5>
      </div>
      <p v-if="desc" class="desc">{{ desc }}</p>
    </article>
  </a>
</template>3. 修改页面的 outline 配置项
---
layoutClass: m-nav-layout
outline: [2, 3, 4]
---防止我们的站点标题被收录到页面目录下
导航模板基础使用说明
- 模板仓库:https://github.com/maomao1996/vitepress-nav-template
- 基础说明:https://github.com/maomao1996/vitepress-nav-template/blob/main/guide.md
面向对 Vitepress 了解不多、仅想套用模板做站点的定制化指引。 (注:本文内容目标:达成基本的样式套用,深入修改请参照 Vue 文档等) (请在贵站中标注本项目仓库地址等信息)
一、首页配置
这里指前端导航页访问的初始页面。

1.主体部分
修改位置:/docs/index.md
范例:
hero:
  name: 茂茂的 //左侧第一行
  text: 个人前端导航  //左侧第二行
  tagline: 使用 VitePress 打造个人前端导航  //第三行小注内容
  image:
    src: /logo.png //页面大图地址(图像最好切圆后使用)
    alt: 茂茂物语
  actions:  //跳转按钮,可按需增减
    - text: 茂茂物语
      link: https://notes.fe-mm.com
    - text: 前端导航
      link: /nav/
      theme: alt  //此行代表跳转至新标签页显示
    - text: mmPlayer
      link: https://netease-music.fe-mm.com
      theme: alt
features:
  - icon: 📖  //图标(输入法的表情icon即可)
    title: 前端物语  //小标题
details: 整理前端常用知识点<br />如有异议按你的理解为主,不接受反驳 //注释2.导航栏与页脚
导航栏
修改位置:/docs/.vitepress/configs/nav.ts
范例(按需增减):
export const nav: DefaultTheme.Config['nav'] = [
  { text: '个人主页', link: 'https://fe-mm.com' }, //切行无影响
  {
    text: '茂茂物语', //显示文本
    link: 'https://notes.fe-mm.com', //链接
  },
]社交链接&页脚
修改位置:/docs/nav/index.md
export default defineConfig({
    ---
    socialLinks: [{ icon: 'github', link: 'https://github.com/maomao1996/vitepress-nav-template' }], //社交链接

    footer: {
      message: '如有转载或 CV 的请标注本站原文地址',
      copyright: 'Copyright © 2019-present maomao'
    },  //页脚,可按Vue支持格式修改
})二、站点列表页
一般对应 https://域名(ip)/nav/
1.站点列表数据
修改文件: /docs/nav/data.js
此处的站点信息涉及四个属性:
| 属性值 | 作用 |
|---|---|
| icon | 图标地址(可填绝对/相对路径) |
| title | 站点标题 |
| desc | 站点描述 |
| link | 链接地址(必填) |
除 link 外,其余属性可按需填入。
基本结构如下:
export const NAV_ATA: NavData[] = [
  {
    title: '类别1' //分类标题
    items: [
      {
        icon: '',
        title: '',
        desc: '',
        link: ''
      }
    ]
  },
  {
    title: ''  //分类标题
    items: [
      {
        icon: '',
        title: '',
        desc: '',
        link: ''
      },
      {
        icon: '',
        title: '',
        desc: '',
        link: ''
      }
    ]
  }
]2.页面自定义
添加其他元素:
修改位置:/docs/nav/index.md
Nav 页本身属于 MD 文件渲染,因此除引用的 data 文件用于数据列表显示,还可以添加其他内容。
例如以下范例:
# 前端导航  //标题

<MNavLinks v-for="{title, items} in NAV_DATA" :title="title" :items="items"/>  //引用data.ts文件显示站点列表

<br />

::: tip
该导航由 [maomao](https://github.com/maomao1996) 开发,如有引用、借鉴的请保留版权声明:<https://github.com/maomao1996/vitepress-nav-template>
::: //引用Notes提示块其他部分:
修改位置:/docs/.vitepress/config.ts
三、站点属性配置
站点图标(favicon):
修改位置:/docs/.vitepress/configs/head.ts 在对应位置更改即可。
站点标题与图标:
修改位置:/docs/.vitepress/config.ts
站点标题:
export default defineConfig({
  ---
  lang: 'zh-CN',  //语言,建议中文(zh-CN)
  title: '',  //站点标题
  description: '',  //简介
  head,
})站点图标:
export default defineConfig({
  ---
  /* 主题配置 */
  themeConfig: {
    i18nRouting: false,

    logo: '/logo.png',  //更改此处